Lipsticks can really seem intimidating at first, especially if you haven’t got a lot of experience with lipstick application. From smudging to feathering, or just not getting that perfect shape—it’s not as easy as it looks.
I remember my first attempt with a classic red; let’s just say it ended with more lipstick on my teeth than my lips. But hey, we all start somewhere!
This lipstick tutorial is here to save the day with step-by-step tips and some cool, lesser-known hacks to help you achieve that perfect lips look. So grab your favorite lipstick, and let’s get started!
1. Start the Night Before
Want to wake up with lips that are smooth and ready for a flawless lipstick application? The secret lies in a good lip mask.
If you struggle with dry or chapped lips (but even if you don’t), applying a hydrating lip mask the night before can work wonders for your lipstick application.
It will leave them soft and supple by morning. Just slather on the mask before you hit the hay, and let it work its magic while you sleep. This simple step ensures your lipstick glides on smoothly and stays put longer, giving you that perfect pout you’ve been dreaming of!
2. Gentle Exfoliation
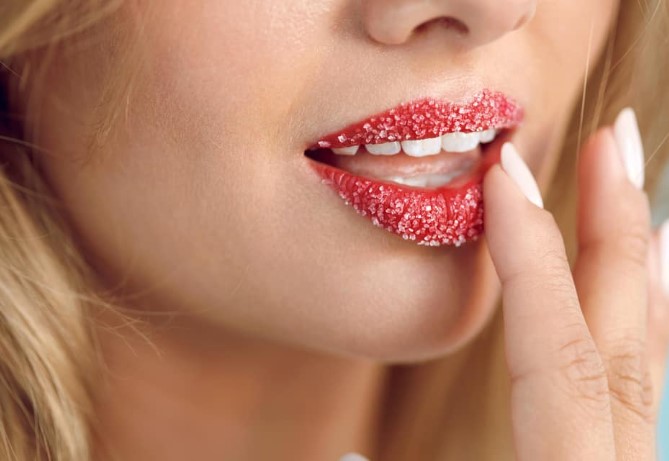
Exfoliating your lips is a game-changer for smooth lipstick application, but don’t worry—you don’t have to do it every day. Just use this step once a week or so. Promise, it will make a difference!
Here are a few easy and effective methods to gently exfoliate your lips:
- Sugar Scrub: Mix a bit of sugar with honey or coconut oil. Gently rub it on your lips in circular motions to remove dead skin.
- Toothbrush Trick: Use a soft-bristled toothbrush to lightly brush your lips. This helps slough off any dry patches and boosts blood circulation for a rosy glow.
- Lip Scrub: You can buy a lip scrub or make one at home with simple ingredients like brown sugar and olive oil. It’s a quick way to buff away dead skin.
- Damp Cloth: For a super gentle option, use a damp washcloth to rub your lips softly.
Make sure to moisturize your lips with lip balm after exfoliating.
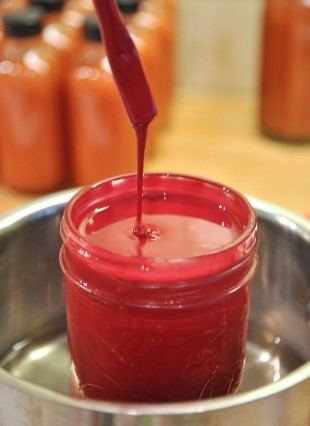
3. Use a Primer
Creating a flawless lip look starts with a good base, and that’s where primer comes in. If you don’t have a specific lipstick primer on hand, no worries—your trusty concealer can double as a primer!
Just dab a bit on your lips to even out your natural lip color and create a clean canvas to work with. This helps in achieving true-to-tube color when you apply your lipstick.
But if you’re looking for a little extra staying power and smoothness, consider investing in a store-bought lipstick primer. These primers are specially formulated to hydrate your lips, fill in fine lines, and prevent feathering or bleeding.
It can really help your lipstick look great and last longer.
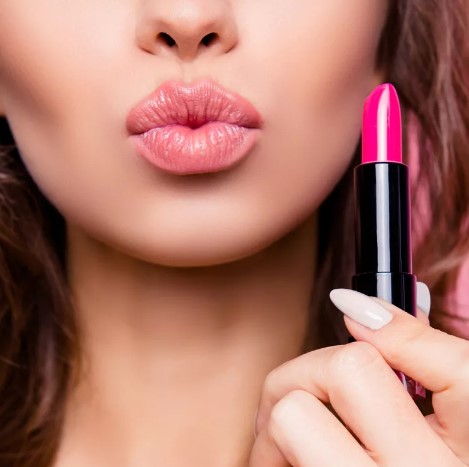
4. Choose the Right Lipstick Shade
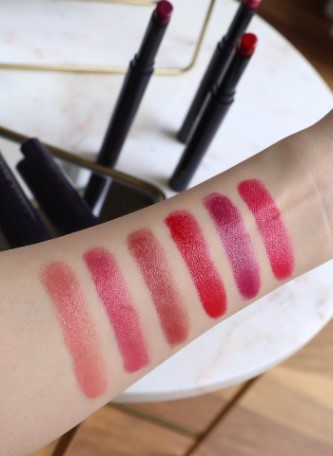
Finding the perfect lipstick shade can take some time, but it’s totally worth it when you find that just-right color. A great tip is to consider your skin tone when picking a shade.
For fair skin tones, soft pinks, nudes, and coral shades are popular choices that complement the complexion beautifully. Medium skin tones often shine in berry, rose, and mauve shades, adding a lovely pop of color. If you have a deeper skin tone, bold reds, plums, and deep burgundy shades can look stunning and really make your lips stand out.
But also remember that everyone is different and sometimes breaking the ‘rules’ can look great on you, so testing is key!
Here’s another thing to consider: lipsticks can look different in the tube than they do on your lips. Always test the color first!
Swatch it on the back of your hand (or directly on your lips if you prefer) to see how the shade looks on the skin. This little step can save you from ending up with a shade that doesn’t quite hit the mark.
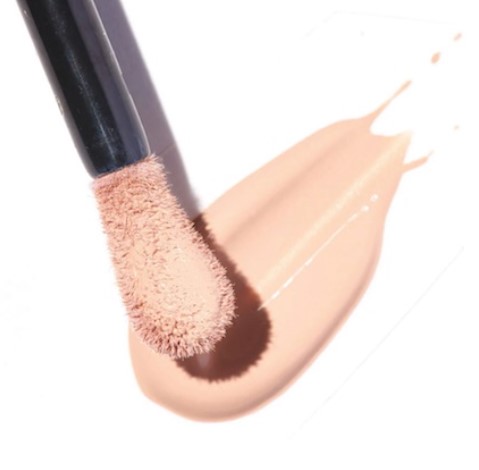
5. Application
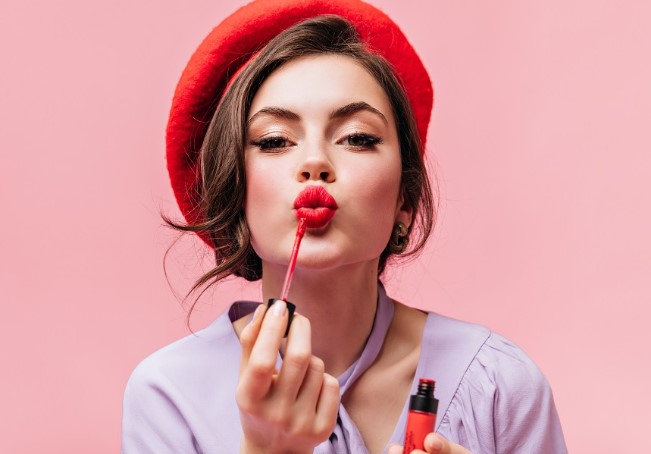
Applying lipstick like an expert takes a few basic steps, but they may make all the difference in achieving a flawless appearance. There are two important things to note for this step:
- Direction of application. Begin by filling up your lips with a lip brush applicator or lipstick. Begin in the middle of your lips and work your way out to the edges. This helps to prevent applying too much product to the corners, which can smear easily.
- Don’t overload. Less is more. Avoid pressing the lipstick too firmly on your lips; you want a delicate coating of application. You may always add a second layer if the necessity arises.
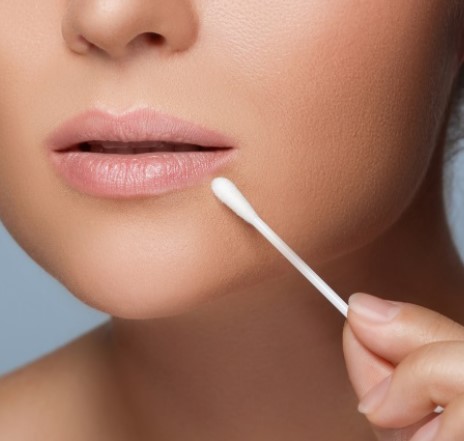
6. Cotton Swab to Fill in the Gaps
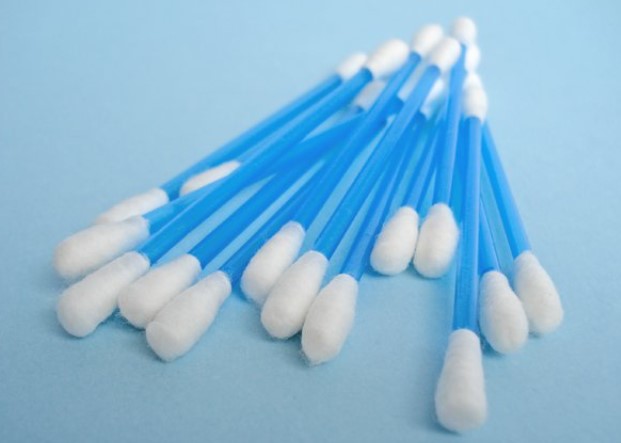
Sometimes, even with the best application, a few spots might be missed, especially around tricky areas like the cupid’s bow or the corners of the lips.
This is where a cotton swab becomes handy. After applying your lipstick, take a close look at your lips to spot any areas where the color may not have reached.
Lightly dip a cotton swab into the lipstick that’s already on your lips and carefully stretch the pigment onto the missed spots, like the top of the cupid’s bow or the inner corners.
This allows for precision without over-applying the product, ensuring a seamless and even finish.
7. Clean Up
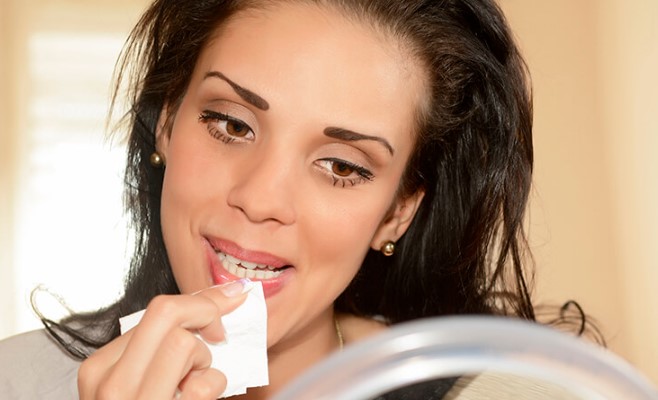
Got lipstick straying outside the lip line? Cleaning up these areas is quick and easy with a cotton swab and a bit of concealer.
Simply dip a cotton swab into a little bit of concealer, then gently trace around the edges of your lips where the lipstick has gone beyond the lines.
This will tidy up any mistakes in no time!
8. Blur Lines with Cotton Swab
Once you’re satisfied with the overall coverage and have cleaned up any stray lipstick, it’s time to soften the look a bit.
Take a new, clean cotton swab and gently rub it along the lip line. This technique blurs the edges of the lipstick slightly, giving your lips a softer, more natural appearance.
The trick is to use a light hand, only touching your lipline gently with our handy cotton swab. Easy does it.
This final touch is perfect for achieving a chic, effortless look that’s polished without being too harsh.