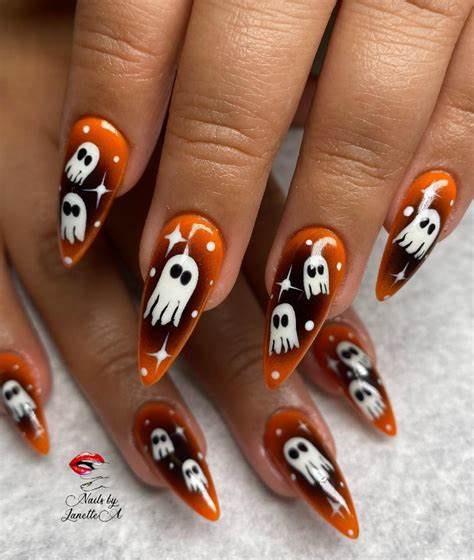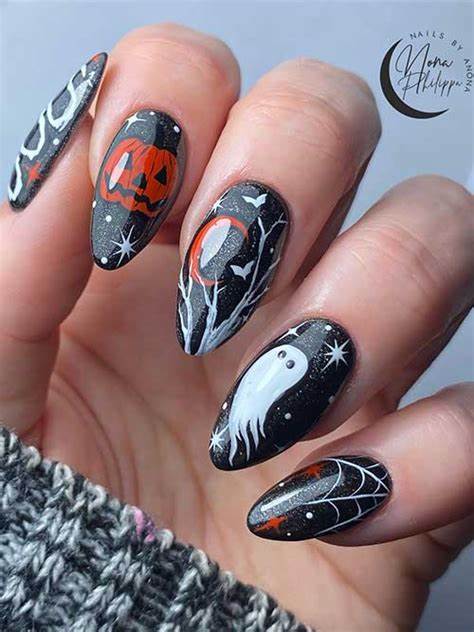
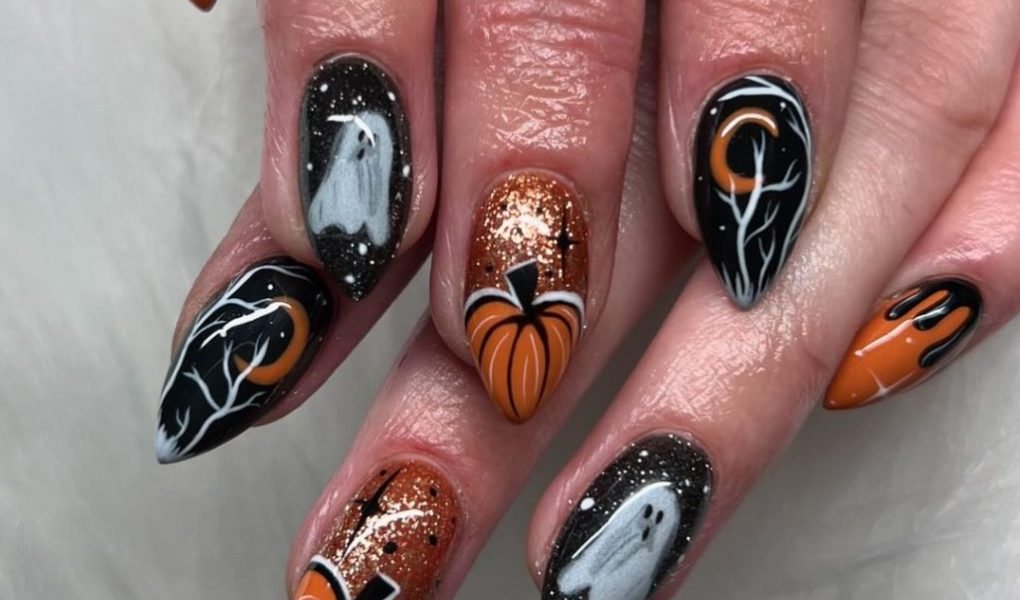
If you’re looking to elevate your Halloween manicure, this “Spooky Yet Sophisticated: Ghosts and Pumpkins” nail design is the perfect choice. Combining the timeless Halloween colors of rich black and vibrant orange, this manicure strikes a perfect balance between eerie and elegant. The addition of glittery accents adds a glamorous touch, while hand-painted ghosts, pumpkins, and moonlit trees bring the Halloween theme to life. The almond shape of the nails enhances the overall sophistication, making this design ideal for both casual outings and more formal Halloween events.
👇 Tap to Save This Spooky Sophistication 📲💡
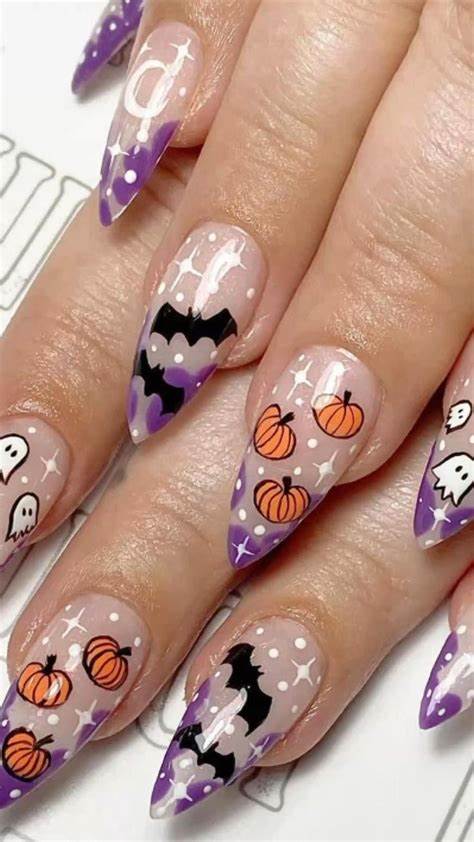
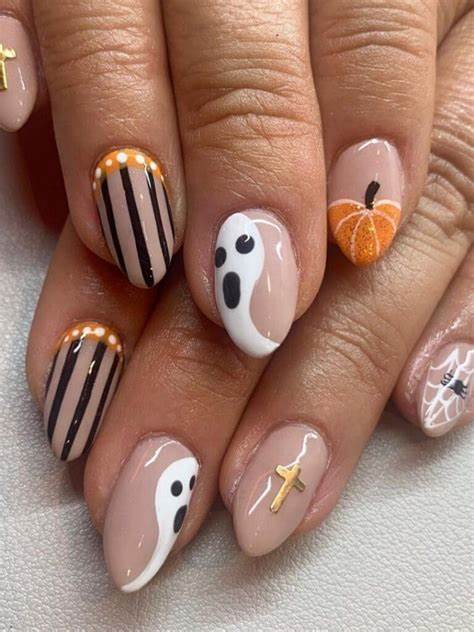
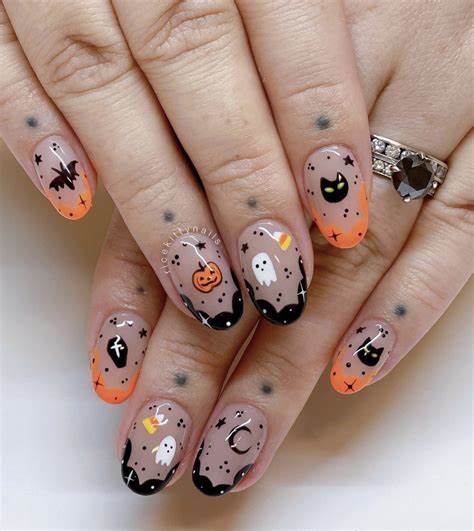
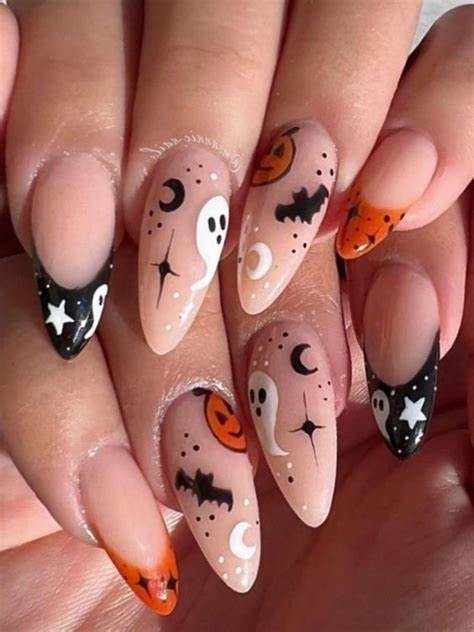
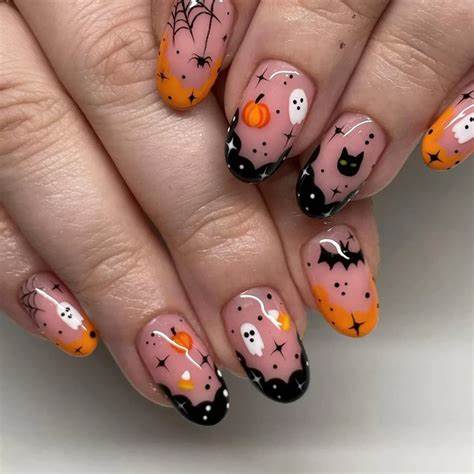
Fall Halloween Nails 2024: 22 Ideas for a Spooky and Stylish Manicure
Discover More: The Ultimate Guide to Halloween Nails
Why This Design Stands Out:
This Halloween nail design perfectly captures the spooky spirit of the season while maintaining a sense of sophistication and style. The deep black and orange base colors set a classic Halloween tone, while the glitter polish adds a touch of sparkle that elevates the look. Hand-painted details, like ghosts, pumpkins, and haunting trees under a moonlit sky, bring a whimsical yet refined edge to the design. The almond-shaped nails provide an elegant canvas, making this design versatile enough for both everyday wear and special Halloween events.
What You’ll Need to Create This Look:
- Black Polish: The essential base for a spooky Halloween vibe. OPI’s “Black Onyx” offers a deep, rich black that’s perfect for this design.
- Orange Polish: A vibrant, festive color that complements the Halloween theme. Try “Pumpkin Spice” for a warm, autumnal orange.
- Glitter Polish: To add a sparkling, night-sky effect to your nails. China Glaze’s “Fairy Dust” is ideal for creating a subtle shimmer.
- White Nail Art Pen: For the intricate designs of ghosts, pumpkins, and trees. The MASH Nail Art Pen in White offers precision for detailed artwork.
- Top Coat: To lock in your design and give your nails a glossy, long-lasting finish. Sally Hansen’s Miracle Gel Top Coat provides excellent shine and protection.
Step-by-Step DIY Guide:
- Prep Your Nails: Start by applying a base coat to protect your natural nails and ensure a smooth application of polish.
- Apply Base Colors: Paint half of your nails with black polish and the other half with orange. Allow the polish to dry completely.
- Add Glitter Accents: Apply glitter polish over the black nails to create a sparkling night sky effect. This adds depth and dimension to the design.
- Create the Spooky Designs: Using a white nail art pen, carefully draw ghosts, pumpkins, and haunting trees on the orange nails. Add details like the moon and stars to enhance the spooky atmosphere.
- Seal and Shine: Finish with a glossy top coat to seal your design, protect it from chipping, and give your nails a polished, professional look.
Why You’ll Love This Design:
The “Spooky Yet Sophisticated: Ghosts and Pumpkins” nail design is perfect for those who want to celebrate Halloween with a touch of class. The combination of bold colors, glittery accents, and detailed hand-painted designs creates a manicure that’s both festive and refined. Whether you’re attending a Halloween party or just want to add a seasonal twist to your everyday look, these nails are sure to make a statement.
Ready to explore more Halloween nail designs? Check out our 10 spooky and stylish images for additional inspiration and ideas to make your Halloween manicure truly unique!